[vc_row][vc_column][vc_column_text] With all the network security threats and potential government monitoring discussed in the news today, some business owners may prefer to take on their own computing management. Whether you have a small in-house IT staff or you alone represent the entirety of your IT team, setting up a server room is no easy task. Here are six tips to take into account as you consider installing your own server room.
-
- Rack Them Up. Small businesses start with a few pieces of IT hardware and often stack them on a desk. As you grow, the pile gets bigger and things start to get unmanageable and, frankly, dangerous. Not only are you exposing your hardware to potential physical damage, you’re risking your data as well. Server racks are designed to protect your valuable IT hardware. They come in many sizes and mounting options, and some may even have wheels if you need to be able to move your equipment.
- Send Servers to Their Room. It is always best to have limited access to the server room. It allows you to control outside factors, like employee tampering, dust, and temperature, which can all impact your equipment lifespan and function. If you can lock the door to it, even better. If you happen to have a very small space, try to create some partitions to at least reduce the likelihood of an accidental trip or bump of the equipment. Server equipment can also be loud, so having its own room will help reduce the distractions to your staff.
- Chill Out.Computing equipment can get hot when its working hard. Prolonged and increased temperatures can also shorten the life of your machines. Have a cooling unit running at all times in the server room. If your main HVAC system turns down the AC while the office is closed, install a secondary system to run at night. Consider a fan tray for your rack.
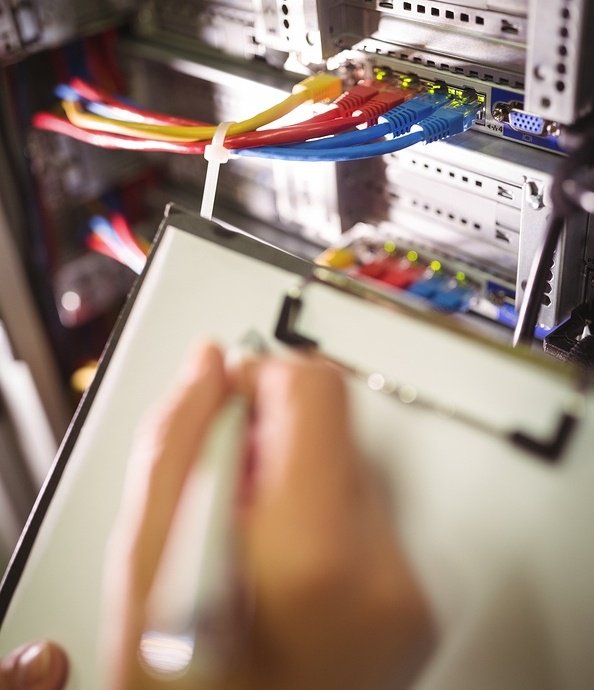
- Let Your Inner OCD Out. After you get your servers into their dedicated space, safely in their racks, the chaos begins. Cabling is one area where we are far from wireless. It will serve you well to be incredibly over-detailed when installing your cables. As you lay them into different directions, use repositionable cable ties as often as possible.They keep your groupings neat and tight, but allow for simple changes later. Using a label maker, add tags to each cord towards the plug to describe what each cord does. It will save you many headaches later on.
- Don’t Be Afraid of Labels. While we’re talking about getting out the label maker, use it for everything else you’ve set up as well. Label your servers, routers, computers, printers, all of it, plus any power cord that comes out of it (labeled near the outlet). Give it a name and adhese the name to the machine. If there’s an issue with any piece of equipment, there should be no question which piece it is and which wire connects to it and which plug gives it power.
- Post the Whole Story on Your Wall. I don’t mean on Facebook, I mean the actual wall in your server room. Draw out all you’ve set up, your entire network and server configuration, in a reference diagram so anyone can see and quickly understand the overview of the whole system in an emergency. Also post any emergency procedures that may be needed in the event of a failure. Keep it simple, straighforward, and review it with your staff regularly. You may not always be around when your server encounters an issue and you don’t want to risk downtime or data loss.
If after reading all this, you’re thinking you might be better off hiring a professional, consider calling the network experts at Great Lakes Computer Corporation. We have a highly-trained, technical staff that can get your IT equipment setup in the best way possible to get you online as quickly as possible. Whether you are looking for a one-time IT hardware setup and install, cabling services, or a Managed Service provider to take on regular server maintenance, we can help.

